With Matariki just around the corner again, my year 5-8 class has started learning more about the Māori New Year. This year we decided to make mixed media stars (whetū) as part of our learning. Inspiration came from this image– and this one. Here’s how we did it!
You Will Need
Star Templates (we used this one)
A3 Coloured Card
A3 Cartridge Paper
A4 Cartridge Paper
Pencil
Any art materials your heart desires! This one uses pastel, dye and a black fine liner pen.
Instructions
- Print the star template. I printed this one on A3 at 220% and 170% to get the different sizes. Cut out the template and trace two large and two small stars onto your A3 and A4 cartridge paper.


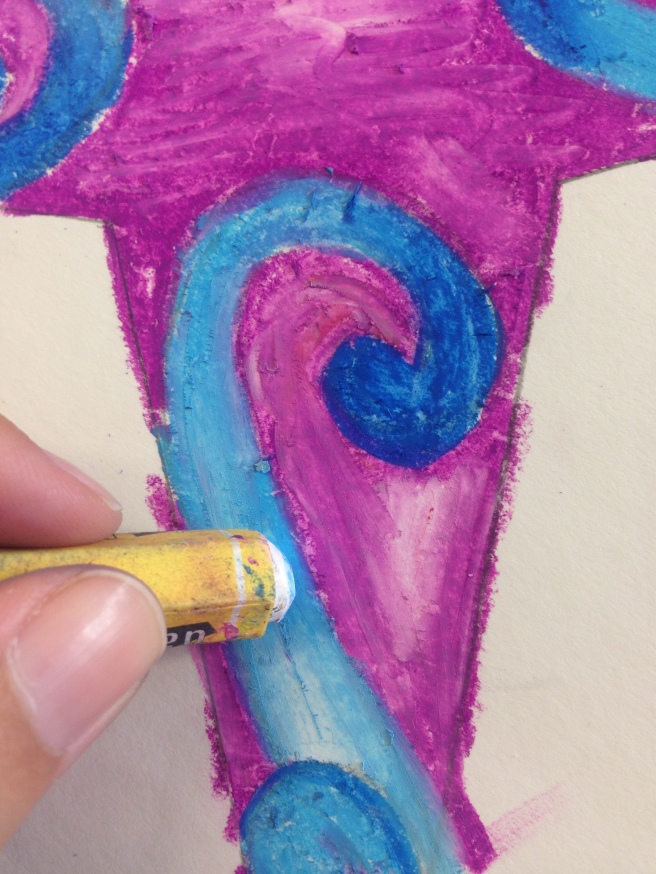
- Design your stars! Before beginning this part of the process, we looked at different Maori art forms, such as carving and weaving. We found out about the symbolism in different shapes and designs, and practised drawing them in our books.
It is helpful to take into account that the centre of all but the front star will be obscured, so it is not necessary to fill this area with design on every star. I did four different designs, but some of the students chose to do the same design on each one which also looks really effective. - Colour your designs. I used pastel, dye and fine liner pen, but I let the kids make their own choices about the materials they wanted to use. Some have used coloured pencil, paint, and watercolours in addition to the materials I chose.
- Carefully cut out each of your stars.


- Layer the stars on top of each other- the points should alternate between big and little stars. When you have the desired arrangement, glue your stars down onto a piece of coloured card. Cut out your card, and you have a finished, fabulous, Matariki star!


One thought on “Matariki Whetu- Stars For Matariki”